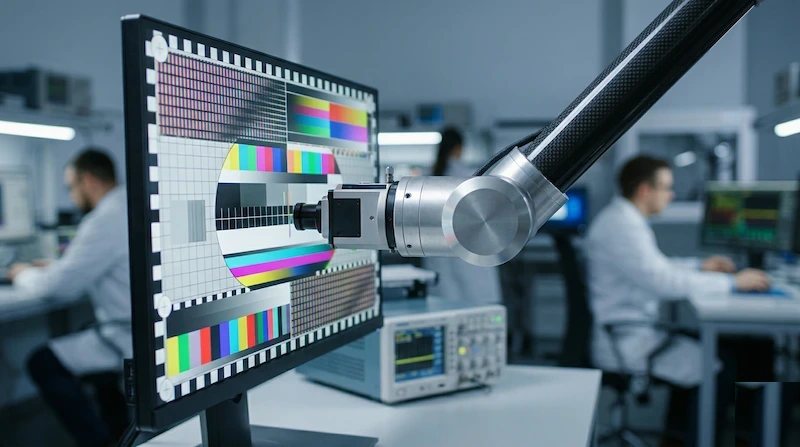
Professional Monitor Setup Guide
Professional color work demands a monitor that shows you exactly what your files contain—not an interpretation filtered through incorrect gamma, shifted white point, or uncalibrated color channels. A $300 monitor that is properly calibrated and configured will outperform a $1,500 monitor running at factory defaults for color-critical work.
This guide covers the complete professional setup process, from choosing the right hardware to maintaining calibration accuracy over time.
1. Hardware Requirements for Professional Work
Minimum Specifications
- Panel type: IPS or OLED (VA acceptable for video; TN not suitable)
- Color gamut: 99%+ sRGB coverage for web/screen work; 95%+ DCI-P3 for video; 95%+ Adobe RGB for print
- Bit depth: 10-bit (8-bit + FRC is acceptable; avoid pure 6-bit panels)
- Delta E: Factory calibration ΔE < 2.0 (verify with colorimeter)
- Uniformity: <10% luminance variation across the panel
- Resolution: Minimum 1440p at 27 inches; 4K preferred for detailed work
Recommended Monitors by Category
- Photography ($400-700): Dell UltraSharp U2722D, BenQ SW270C, LG 27UK850
- Video Editing ($600-1200): ASUS ProArt PA279CRV, BenQ SW321C, Dell UltraSharp U3223QE
- Color Grading ($1500+): EIZO ColorEdge CS2740, NEC MultiSync PA311D, Sony BVM-HX310
- OLED Option ($800-1500): LG UltraFine OLED Pro, Dell UltraSharp OLED
2. Physical Workspace Configuration
Ambient Lighting
Ambient lighting profoundly affects color perception. The ideal professional environment uses D65-balanced lighting (6500K color temperature) at 64-160 lux. Avoid mixing light sources with different color temperatures—incandescent and fluorescent lights in the same room create inconsistent viewing conditions.
Practical recommendations:
- Use LED bias lighting behind your monitor at 6500K, 10% of screen brightness
- Avoid direct sunlight on the screen or in your field of view
- Use blackout curtains or work at night for critical color decisions
- Consider a monitor hood to block ambient light from the screen surface
Monitor Positioning
- Distance: 50-70cm for 27-inch monitors; 60-80cm for 32-inch
- Height: Top of screen at or slightly below eye level
- Tilt: Slight backward tilt (5-10°) to reduce neck strain
- Angle: Perpendicular to your line of sight for accurate color perception
3. Monitor OSD Configuration
Before calibrating, configure your monitor's on-screen display (OSD) correctly:
- Color mode: Select "Custom" or "User" mode to allow full RGB gain adjustment
- Color temperature: Set to 6500K or "User" for manual RGB adjustment
- Gamma: Set to 2.2 (or leave for calibration software to handle)
- Brightness: Adjust to achieve 80-120 cd/m² (use a light meter or colorimeter)
- Contrast: Set to 75% (avoid maximum, which clips highlights)
- Sharpness: Set to 50% (neutral—avoid artificial sharpening)
- Dynamic features: Disable all dynamic contrast, HDR auto, and motion enhancement
4. Calibration Workflow
Professional calibration requires a hardware colorimeter. Software-only calibration is insufficient for color-critical work. See our complete monitor calibration guide for detailed instructions.
Calibration Targets by Workflow
- Web/Screen design: D65 white point, 2.2 gamma, 120 cd/m² luminance, sRGB color space
- Print photography: D65 white point, 2.2 gamma, 80-100 cd/m² luminance, Adobe RGB color space
- Video (Rec. 709): D65 white point, 2.4 gamma (BT.1886), 100 cd/m² luminance
- Cinema (DCI-P3): DCI white point (6300K), 2.6 gamma, 48 cd/m² luminance
- HDR mastering: D65 white point, ST 2084 (PQ) curve, 1000 nits peak
Calibration Schedule
- Initial calibration: Immediately after purchase (after 30-minute warm-up)
- Regular recalibration: Every 2-4 weeks for critical work
- After any significant change: New lighting, monitor moved, OS update
- Verification check: Weekly using standardized test images
5. Color Space Management in Applications
Calibration only works correctly in color-managed applications. Understanding how your software handles color profiles is essential:
Adobe Applications (Photoshop, Lightroom, Premiere)
- Enable "Use Graphics Processor" for accurate color rendering
- Set working color space to match your output: sRGB for web, Adobe RGB for print, Rec. 709 for video
- Enable soft proofing when preparing files for specific output devices
- Use "Proof Colors" (Ctrl+Y) to preview how files will look in different color spaces
DaVinci Resolve
- Set monitor output to your calibrated ICC profile in Preferences → Color
- Configure project color science to match your delivery format
- Use scopes (waveform, vectorscope) alongside visual evaluation
6. Verifying Your Setup
Use our free tools to verify your professional setup is working correctly:
- Display Test — check gradient reproduction and color uniformity
- White Screen Test — verify white point accuracy and uniformity
- Color Accuracy Testing Guide — measure Delta E and verify calibration
- Monitor Test — complete diagnostic protocol
7. Multi-Monitor Professional Setups
Many professionals use two monitors: a primary color-accurate display for editing and a secondary monitor for tools, palettes, and reference. Key considerations:
- Calibrate both monitors to the same white point and luminance target
- Use the same panel technology for both if possible (IPS + IPS)
- Position monitors at the same height and angle to minimize color perception differences
- Assign ICC profiles correctly in your OS—each monitor needs its own profile
- Test color consistency by moving a reference image between monitors